In this post we will explain how to configure a Zigbee Door and Window Sensor to work with Home Assistant and Zigbee Home Automation (ZHA).
Prerequisite
Before continuing, we assume that you are already running ZHA on Home Assistant. If you're not, then check out our guide on:
The Pairing Process
If this specific example we are demonstrating the pairing process using the Zigbee Door Sensor Contact Sensor - HA/Alexa/Google Compatible sensor.
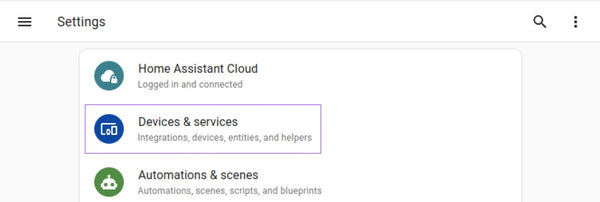
Firstly, open up your Home Assistant dashboard and navigate to the Settings section:
Select the Devices & services option from the settings menu.
Use the + Add Integration button in the bottom right hand corner to add a new integration:
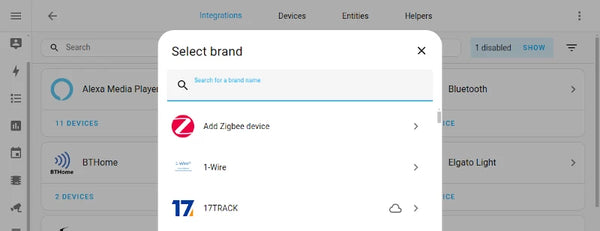
This will open a pop up that will allow you to search for a brand of integration. At the top of the list you should see an option for Add Zigbee device:
Once you click on this, you will be taken through to the add device screen in ZHA:
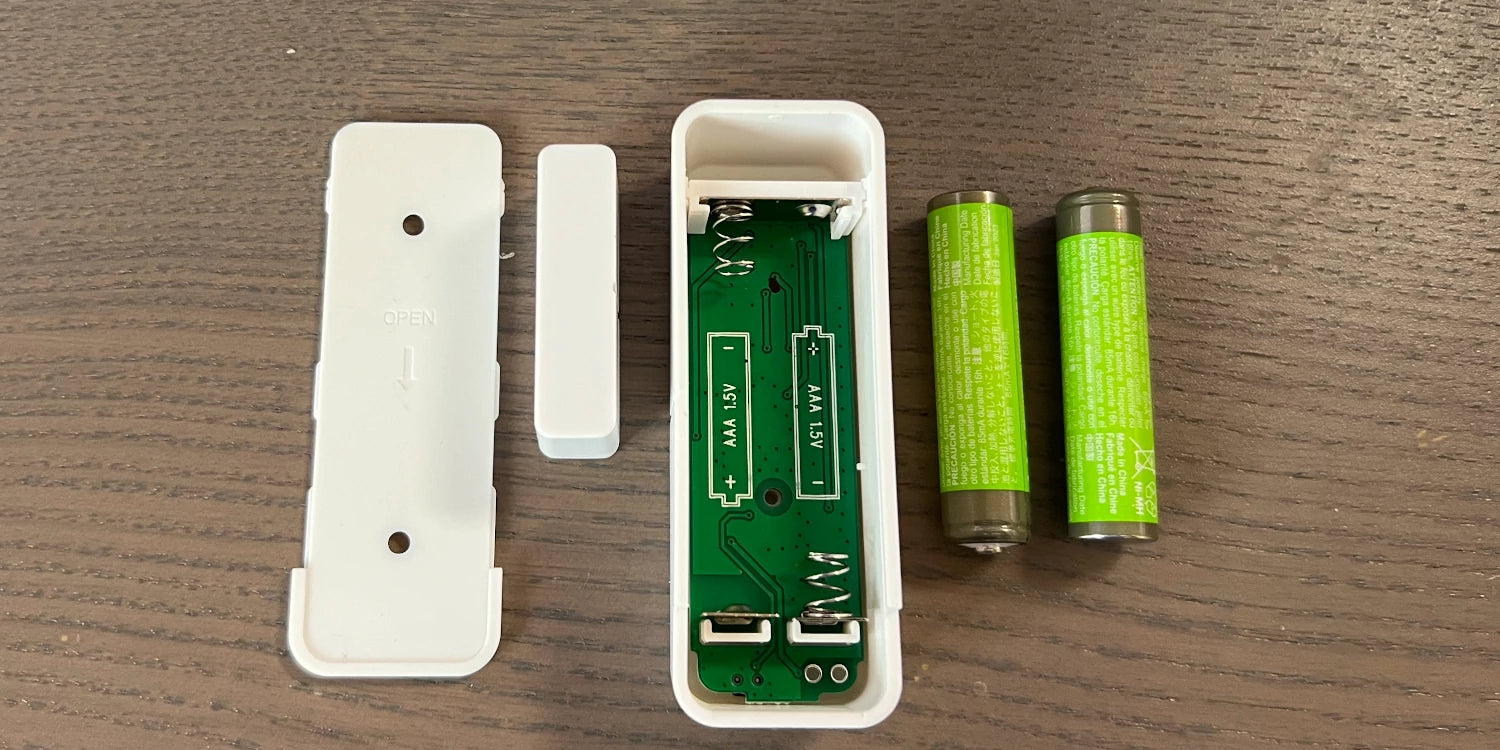
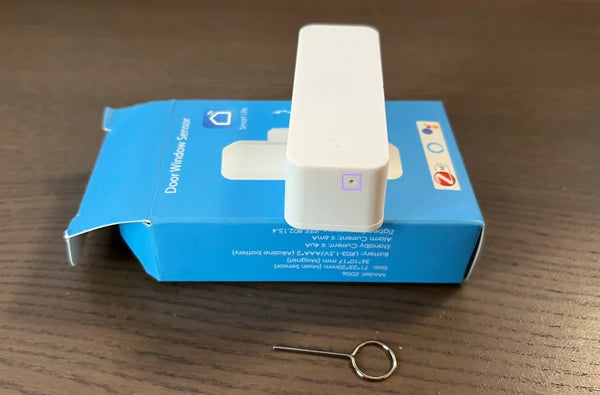
Insert the batteries into your sensor, and use the provided reset pin to press and hold the reset pin until the indicator light starts to flash.
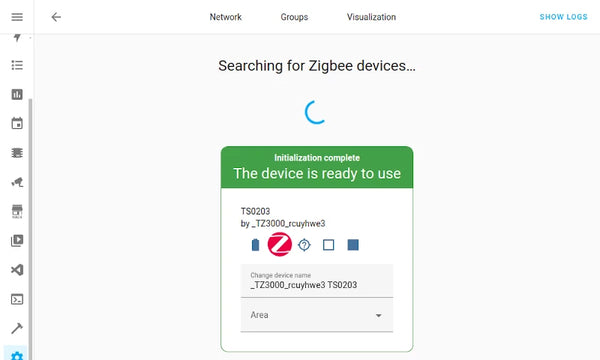
The device will then start the pairing, process and the screen on Home Assistant should change as follows:
Once this step has completed you will see a success result as follows with the option to rename the device and add it to an area:
The device is now registered in Home Assistant and you can start to use this device in your dashboards and automations!


Leave a comment